

I live in South London and one of my favourite places in the neighbourhood is Vauxhall City Farm. This hidden gem is the most central of all the city farms in London, and it is a local beloved place for me. I’ve been on and off volunteering at the farm for a few years now, and I’ve recently started working at its café a couple of days a week (yep, you know where to find me, come and say hello).
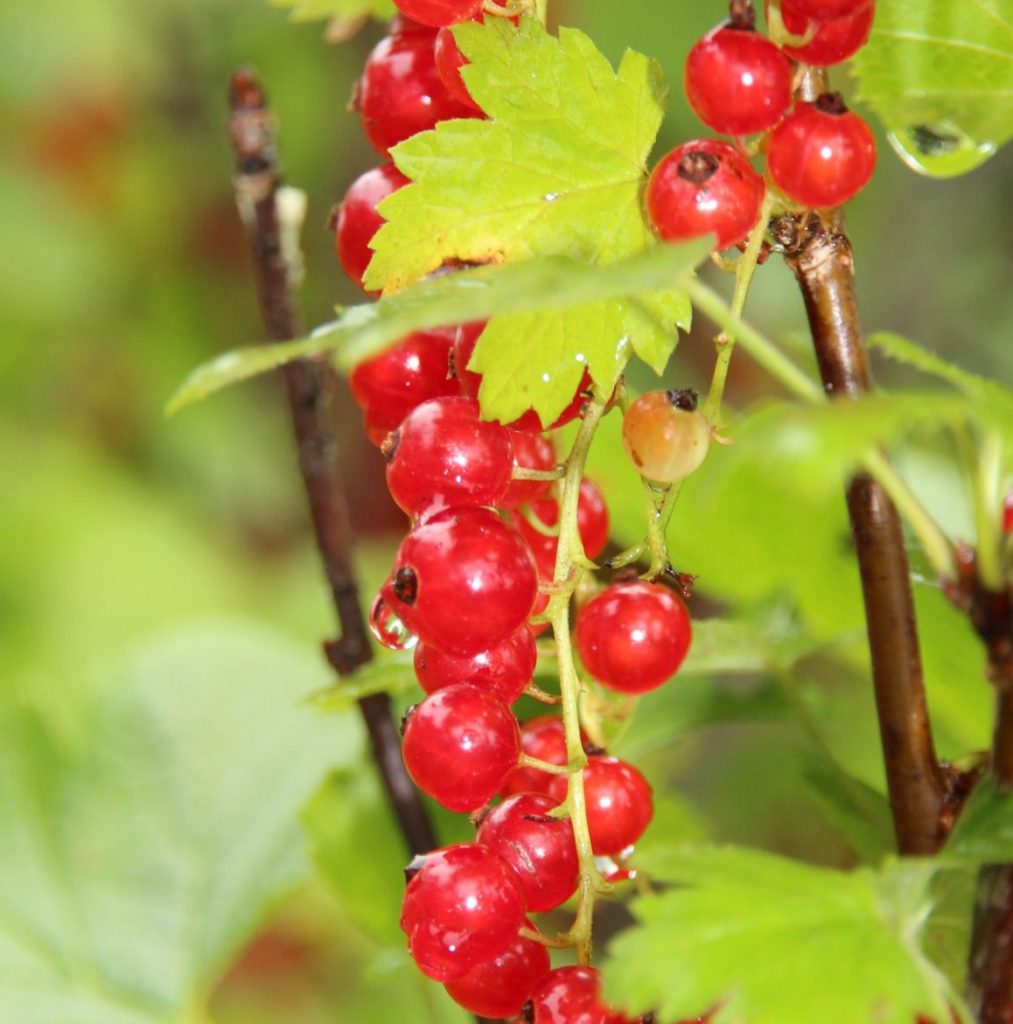
After seeing the whopping quantity of redcurrants the farm garden has been producing in the past weeks, I started thinking about a way to serve them to visitors at the café, as leaving them hanging in there would have been a crime.
Fruit tarts and tartlets are an absolute classic of Italian patisserie. They are also generally a crowd pleaser too, as they rely on simple but delicious flavours, like the marriage between the sweetness of “crema pasticcera” (Italian pastry cream) and the sharpness of the fruit that is beautifully laid on top, which works both as a key ingredient and a decoration.
So there you go, redcurrant and Italian pastry cream tart.
But, could I just keep it that simple? Nope. Well, this time there is a good reason why.
The truth is, redcurrants are not just sharp, they are SHARP. I thought that the delicate sweetness of the vanilla pastry cream be enough to balance the berries, but nope.
Therefore, I decided to add an extra layer of sweetness incorporating the most amazing caramel sauce – which I did coincidentally already used also in my salted caramel and lemon jam sandwich biscuits, coincidentally. Just that extra boost of sweetness and ciao.
Once the making part was over, I was left with having fun decorating the tart with a bazillion of redcurrants on top. I laid them down amongst some meringue kisses I had previously made with the leftover egg whites from the pastry ingredients (you only need egg yolks to make my pasta frolla). And here comes nonna, “make sure you always use all parts of your ingredients, including the leftovers.”
I agree. Food waste is a huge issue, and we should all try to play our part and minimise it as much as we can. Yep, nonna.
Nothing left to say, except that the tart was a huge success and sold out in a matter of a few hours. Maybe it’ll become a regular on the café menu. Future will tell.
Makes one 20cm tart
Ingredients
FOR THE ITALIAN SWEET SHORTCRUST PASTRY (PASTA FROLLA)
- 220 g plain flour
- 20 g corn flour
- 120 g cold butter – chopped in small cubes
- 95 g icing sugar
- 45 g egg yolk (about 2 large)
- ½ tsp vanilla extract
- 2 g salt
- a splash of cold water (if needed)
FOR CARAMEL SAUCE
- 220g caster sugar
- 40g glucose syrup
- 130g water
- 300g double cream
- 15g cornflour (2 tbsp)
FOR THE VANILLA PASTRY CREAM
- 500g whole milk
- 125g egg yolks
- 150g caster sugar
- 50g corn flour
- 1 vanilla pod or equivalent of vanilla paste/extract
TO DECORATE
- about 400g fresh redcurrants, washed and gently pat dry
- clear glaze (nappage) – optional – I use the “Fresca Frutta Gelèe” by Fabbri
- small meringue kisses (see step 2 of the recipe for ingredients and process)
Method
TO MAKE THE SWEET SHORTCRUST PASTRY (PASTA FROLLA) (Make 1 day ahead)
- Sift together the flour, corn flour and icing sugar into a bowl and add the cubed cold butter. Using your fingers and working fast, rub the butter in the powder until you achieve a crumbly texture. Add the egg yolks, vanilla extract or paste and the salt and bring together using a knife. Alternatively, you can obtain the same result using a food processor on low speed or a stand mixer with the leaf attachment. As soon as the pastry comes together, flatten, wrap in cling film and refrigerate overnight to stabilise the mix.
TO MAKE THE MERINGUE KISSES (Optional decoration – make 1 day ahead)
In this recipe, a lot of egg yolks are used. Try not to waste the egg whites and find creative ways to utilise them, such as making meringues for decoration or other recipes.
- Pour 60g of egg whites in a medium size bowl or a stand mixer bowl. Weigh 20g of caster sugar in a cup, and 100g in another. Start whisking the egg whites on a low speed. As soon as they become bubbly, add the 20g of sugar and keep whisking, increasing the speed to medium. Keep whisking for about a minute or two, until a nice foamy consistency starts to form. At this point, start adding the rest of the sugar one tablespoon at the time and increase the speed to high. Wait for at least 30 seconds between sugar additions. Keep whisking until all of the sugar has been added.
- In order to test if the meringue is ready, it should look very shiny and glossy, and it should form nice and firm peaks when you lift the whisk off the bowl. If the peaks are bending down, whisk a little further. When ready, transfer to a piping bag and, using your favourite tip, pipe very small kisses over a baking parchment or a silicone mat. Bake in the oven at 100˚C for about 2 hours, leaving the oven door ajar using a wooden spoon handle. After 2 hours, check if the meringues are dry and cooked, otherwise bake for another 45 minutes and check again. Leave to cool down completely (they should not be sticky at touch) and store in an airtight container.
TO MAKE THE CARAMEL SAUCE (Can be made 1 day before serving)
- Pour the water in a medium saucepan, add the sugar and glucose syrup, and bring to a boil over a medium heat. When boiling, wait for the mixture to start turning a nice amber colour, this should take around 10 minutes. When the caramel is looking amber, but not too dark (careful here as it will go dark in matter of seconds) remove the pan from the heat and lay it on a heatproof surface. Stir in one third of the cream and whisk promptly to mix and cool down the caramel. Be careful as it will bubble a lot and might splash on your hands. When the bubbling slows down, add the rest of the cream while whisking to achieve a nice and silky texture.
- Put the pan back on the hob and bring back to the boil on a medium-low heat. Once it boils, mix three tablespoons of the sauce with the corn flour and stir until smooth, then pour back into the pan (essential to avoid lumps). Keep stirring for a couple of minutes to cook off the flour flavour and thicken to a pipeable consistency. Pour into a bowl, add the salt and briefly stir again. Set aside to cool down completely before using (it will look runny, but don’t worry).
BAKE THE TART BASE (Day of serving)
- Pre-heat the oven at 180°C. Take the pastry out of the fridge and leave it at room temperature for 10 minutes before working it. In the meanwhile, take a 20cm tart tin and coat the inside with butter and flour. Roll out the pastry to a 6mm thickness, ensuring the bottom and top of the pastry are well floured and won’t stick to the counter nor to the rolling pin. Roll the pastry up on the rolling pin and, working gently, unroll it over the tart case. Using your fingers and a piece of extra pastry, press the rolled pastry neatly into the tart tin, ensuring all the angles and corners are neatly lined. When you are happy with the result, roll the rolling pin over the tin to neatly cut the extra overhanging pastry, and if necessary, adjust any imperfection with a small sharp knife.
- Line the top of the pastry with baking parchment and fill with dried beans, rice or baking beans. Place the tin over a metal tray and bake blind for 15 minutes. Take out of the oven, carefully remove the hot baking beans and the parchment and return to the oven for another 10/12 minutes. Cover with foil if the sides start to brown too much. Take the tart out of the oven and leave to cool down completely without removing it from the tin.
TO MAKE THE VANILLA PASTRY CREAM
Before starting with this step, place a metal tray or bowl in the freezer to become very cold.
- Pour the milk in a saucepan. Add the vanilla paste/extract and bring to boil on a medium-high heat. In the meanwhile, mix the sugar and corn flour in a bowl with a whisk, then add the egg yolks and whisk gently until fully incorporated and smooth (do not whip). As soon as the milk boils, take it away from the heat. Put a strainer over the bowl with the egg mixture and pour half of the milk into it. Whisk promptly to mix and prevent the egg from cooking. Add the remaining milk and mix to incorporate completely.
- Pour the whole mix back into the saucepan and start heating back on a medium-low heat, gently whisking. When the mix starts to thicken and gets close to 85˚C, remove from the heat and continue whisking for about one minute. Transfer onto the frozen tray or bowl and keep whisking vigorously to break any lump, until the cream becomes shiny and smooth, and cools down at least below 50 degrees. Cover with cling film in contact with the surface of the cream and leave to cool down completely before refrigerating until ready to use.
TO ASSEMBLE AND FINISH THE TART
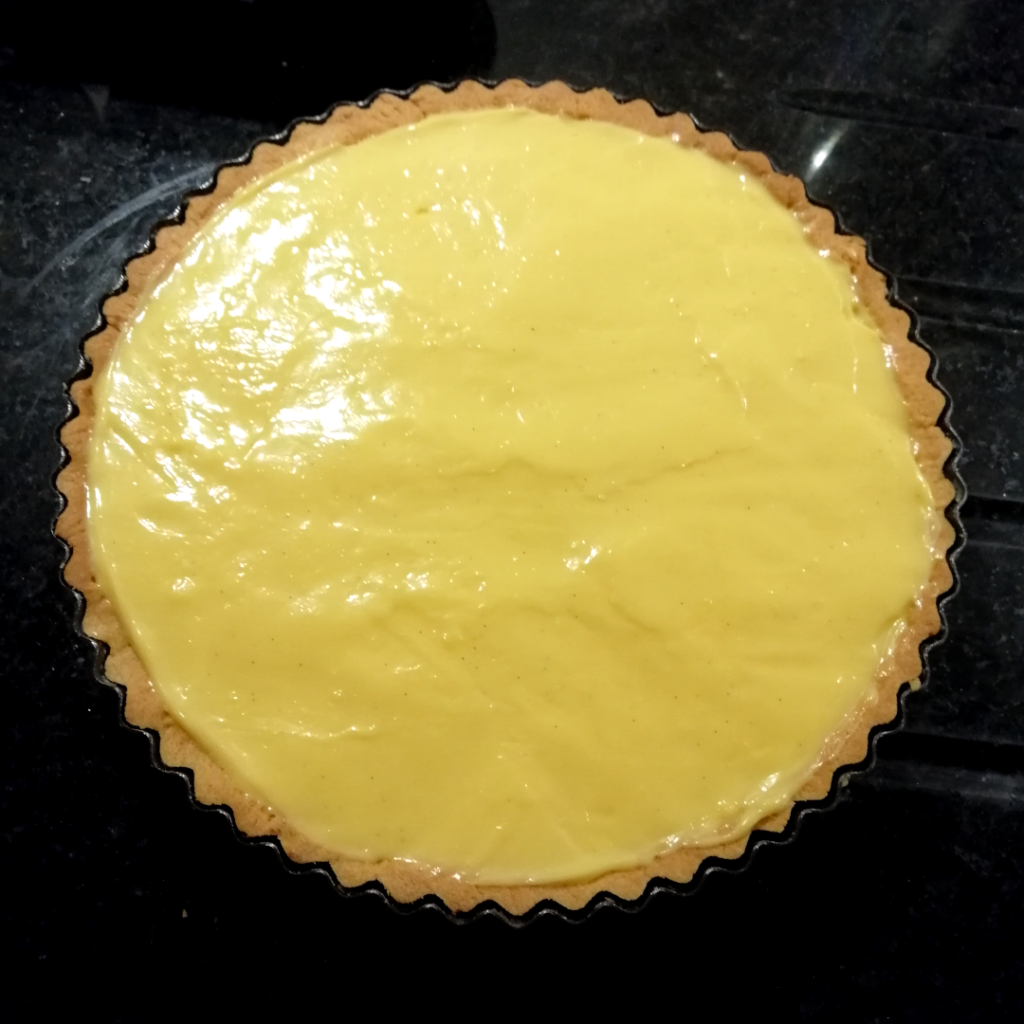
- Once both tart case and caramel are cooled down, transfer the caramel sauce to a piping bag. Cut a 1cm hole on the tip (or use a plain round nozzle) and pipe a layer of caramel covering the entire base of the tart. Refrigerate the tart for 1 hour, to set the caramel sauce while the pastry cream cools down completely.
- Give the pastry cream a good whisk to loosen up and become creamy again and transfer to a piping bag. Pipe a generous layer of cream all over the caramel, reaching up to the top rim of the tart. The cream should be enough to completely fill up your tart case. Flatten and smoothen the top with a palette knife or a spatula and refrigerate for another 30 minutes to set.
- Then ready to serve, decorate with meringue kisses and a generous quantity of redcurrants to your liking, ensuring you are covering the entire surface of the cream. Spray some transparent glaze over the berries before placing them over the tart (if using). Serve immediately or refrigerate until ready to be sliced and enjoyed.