
I come from a pizza loving family. My mum has always been making homemade pizza from scratch, that’s probably one of her favourite ‘bakes’. As a kid, the moment she would start rolling out the dough was one happy happy happy one. She would always bake a large tray of pizza, sometimes even two, which was always delicious and filled with toppings of all kind. But, although it was really good, it never really had the texture and flavour of a pizza you would eat at a pizzeria. That’s actually quite difficult to achieve if you don’t have an outdoor pizza oven that reaches the exact right temperature to give you the exact right texture. There is also a huge difference between Neapolitan – which has a thick and chewy crust – and Roman pizza – which has a crispy and thin crust – and being from Northern Italy, the latter is what I’m used to the most (and as much as I looove pizza napoletana, thin crust will always be my favourite).
Anyway, the thing is, I have always been frustrated by the fact that homemade pizza wasn’t ‘as tasty as’ (and never had an outdoor pizza oven), so, during the years I have been testing and perfecting my pizza dough recipe with that in mind: achieving something that would be and taste as close as possible to a proper ‘roman pizza’ (will attempt the Neapolitan one at some point, but I don’t think I am quite ready yet).
Such challenge is probably going to last a lifetime, but I must say that after 4803843094830 attempts, I’ve managed to achieve an incredibly light and airy consistency – but still packed with that delicious flavour that only comes from homemade dough. The secret? Since I have discovered natural fermentation, I haven’t been using yeast anymore, and my sourdough pizza dough is lighter and more digestible than my regular recipe with yeast (which is still pretty good though).
True, it requires a bit of extra time and you will need to plan ahead, and of course, you need your own sourdough starter, but most of the work is hands off and it’s actually pretty simple. And, to put it simply, the reward of a light and crispy pizza is something worth the effort. Family and friends approved, and more than once.
Note: Ideally you should make the sourdough pizza dough the day before you want to bake and eat pizza, but it is also doable on a same-day schedule.
Makes 4 pizza margherita
Ingredients
FOR THE DOUGH
- 400g “00 flour” (finely milled Italian flour, similar to stoneground bread flour)
- 280g lukewarm water (about 28-30°C)
- 65g very active sourdough starter/levain, fed at least twice in the last 24 hrs (use 75g if you are making the dough for the same day)
- 10g sea salt
- 20g extra virgin olive oil
FOR THE TOPPINGS
- 800g each Italian peeled plum tomatoes (try to use organic tomato if possible)
- semolina or flour, for dusting
- 800g good quality mozzarella (if you can find two mozzarella logs such as those by Galbani even better).
- 2 tsp dried oregano (optional)
- salt and pepper to taste
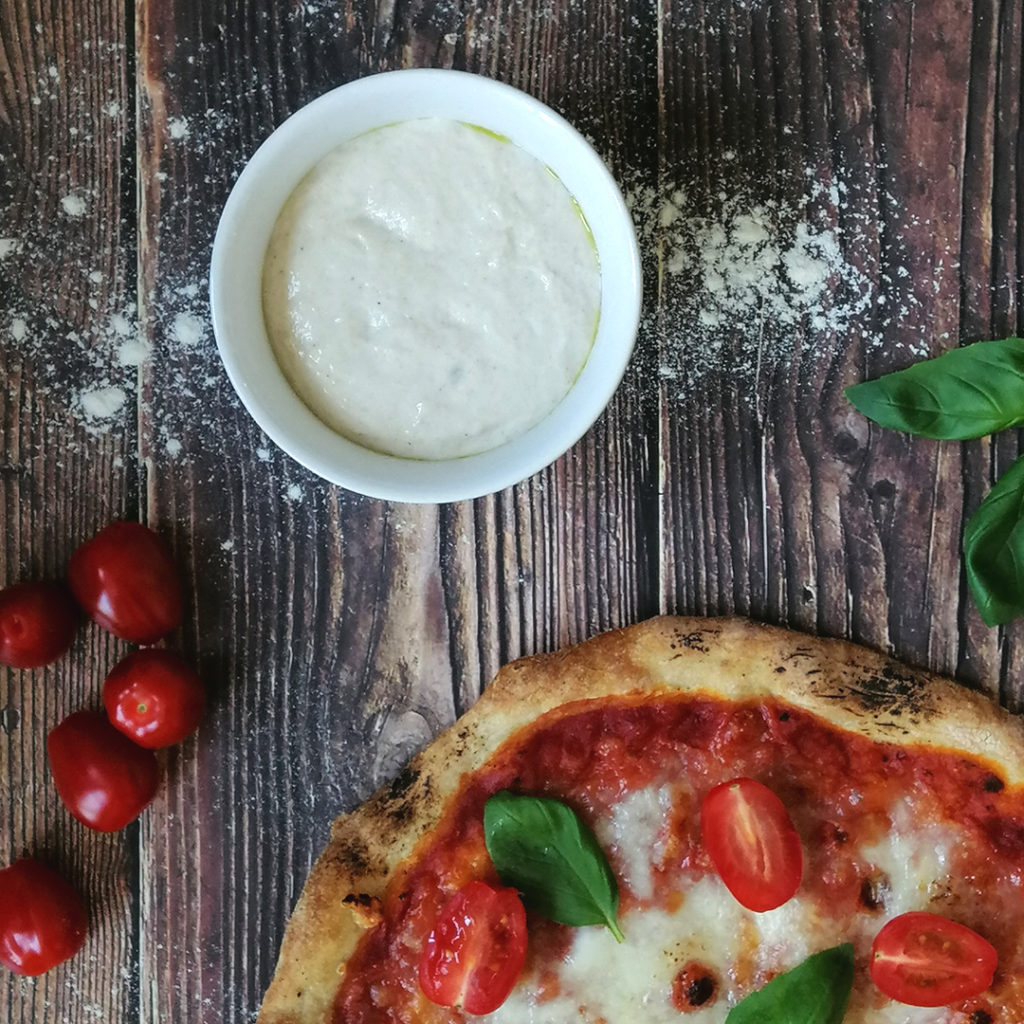
- small bunch of fresh basil
- extra virgin olive oil, for drizzling
SPECIAL EQUIPMENT
- Dough cutter/scraper
- Pizza stone or pizza dish to bake (optional)
Method
MAKE THE DOUGH (day before or morning of the same day)
- Sift the flour into a bowl. Add 260g of water, reserving 20g for later. Mix until coming together into a shaggy mass and no more dry bits are visible. Leave to autolyse in a warm place (26 to 28°C) for 1 hr.
- Take the reserved water and splash it with your fingers all over the dough, then add the sourdough starter and salt. Poke the dough with your fingers to start incorporating the ingredients, using the water to avoid the dough to stick to your hands. Turn the dough in the bowl a few times until everything has been incorporated and leave to rest for 15 minutes.
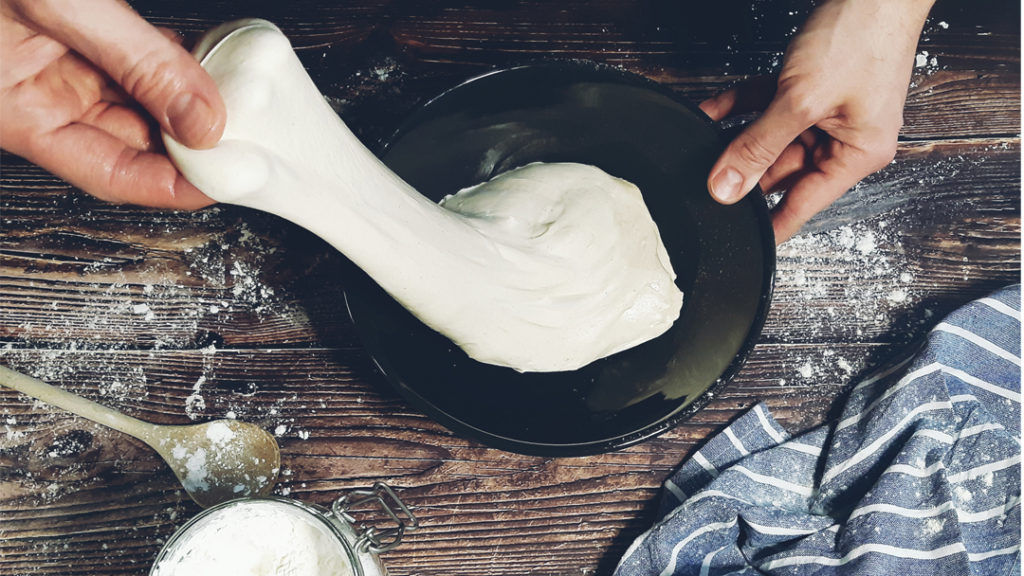
- Add the olive oil and knead for a few minutes in the bowl. Turn the dough over onto a counter and start folding it onto itself, first in your hands, and then performing the slap and fold kneading method for about 10 minutes or until the dough is not sticking to the counter nor to your hands. The dough is ready when looking plump, silky and it’s not sticking to your hands anymore.
Slap and fold tecnique (french fold): pick up the dough, turn it 90° and slap it back onto the counter, folding it on itself and repeat. See a nice video that you can follow. - Return the dough to the bowl and leave to undergo bulk fermentation in a warm place (26 to 28°C) for 4 hours. In the first 2 hours, perform a “stretch and fold” turn every 30 minutes, for a total of 4 times, to build up the gluten network, improve dough elasticity and incorporate more air. After the fourth stretch and fold, let it undergo bulk ferment for another 2 hours.
Stretch and fold technique: slightly wet your fingertips, detach one side of the dough from the bowl, stretch it upwards as much as possible, then fold it back on top of the dough. Turn 90° and repeat until you have gone around the bowl.
- Turn your dough on a lightly floured surface. Don’t worry if it’s still a bit sticky, you can lightly flour your hands or dampen them with a bit of water. Do not add flour to the dough. Weigh the dough and cut into 4 equal portions. Shape each portion into a tight ball, stretching the sides and folding into the middle of the ball, and then rolling it on the counter with your hand on top in a sort of cage shape.
- Place the balls on a floured tray, leaving at least 5 to 6cm between one ball and the other, as they will flatten during overnight rise. Flour the tops so they won’t stick, place the tray in a plastic bag and put in the fridge for up to 14 hours. Take out of the fridge 2 hours before using. Alternatively you can place each ball of dough in a small bowl and seal with cling film.
Note: If you are making pizza on the same day, don’t place the dough balls in the fridge but leave them to rise for 3 hours in a warm place (26 to 28°) instead.
MAKE THE PIZZA
Pre-heat your oven to 230°C fan / 250°C conventional. If using a pizza stone to bake your pizza, leave it in the oven to heat up for at least 40 minutes.
- In the meantime, prepare your toppings. Put the tomatoes into a bowl and, using your hands, break them up into small bits and mix them with their sauce. Season the tomato with salt, pepper, a drizzle of olive oil and some dried oregano (optional).
Chop the mozzarella log in small cubes and set aside in another bowl. If you have regular mozzarella, leave the cubes on a colander and put a weight on to drain as much water out as possible. If you are not making a pizza margherita, prepare any other topping of your choice to add to your pizza. - Flour your working surface with semolina or flour. Grab a ball of dough and transfer it to your counter. Make sure it’s coated with flour on both sides. Re-flour at need. In order to flatten your base, you can choose how to proceed or try a bit of both:
– using a rolling pin is totally legit, particularly if this is your first attempt, your pizza dough is quite stiff or still a bit chilled from the fridge. Roll out the dough evenly to a 2 to 3mm thickness, trying to keep it round and not to exceed the size of your baking surface. You should leave the external border a bit thicker than the middle.
– stretching and flattening it by hand requires a bit of practice, but I just find it easier and quicker than using the rolling pin, particularly because at this stage your sourdough pizza dough should be relaxed and it should stretch very easily. Using both hands, start by pressing the dough with your fingertips to flatten it evenly, covering the entire surface of the dough. Repeat a few times until the dough has at least doubled in surface. At this point let gravity do the work. Pick up the dough and turn it around letting it rest on the back of your hands and forearms, gently pulling away to elongate. The overhanging part will naturally stretch by gravity and, in the matter of seconds, you will have your nice flat and thin pizza base. Gently place it down on counter. - Line the baking tray with parchment and quickly drag the pizza over the tray. I use a thin baking sheet floured with semolina as a pizza peel to pick up the base and slide it over the baking surface.
If you are baking over a pizza stone, take the hot stone out of the oven onto a heatproof surface, flour with semolina and slide the pizza base over. Quickly adjust the shape of the dough if needed, as the base will instantly start to cook.

- Using a large spoon, pour two spoonfuls of tomato sauce over the pizza base, and spread it around with circular movements, leaving about 2 to 3cm border all around. Transfer to the oven and bake for 7 minutes. Take the pizza out of the oven and scatter 1/4 of the diced mozzarella over the tomato sauce, making sure it’s evenly distributed. Return to the oven and bake for another 5 minutes or until the mozzarella is bubbling.
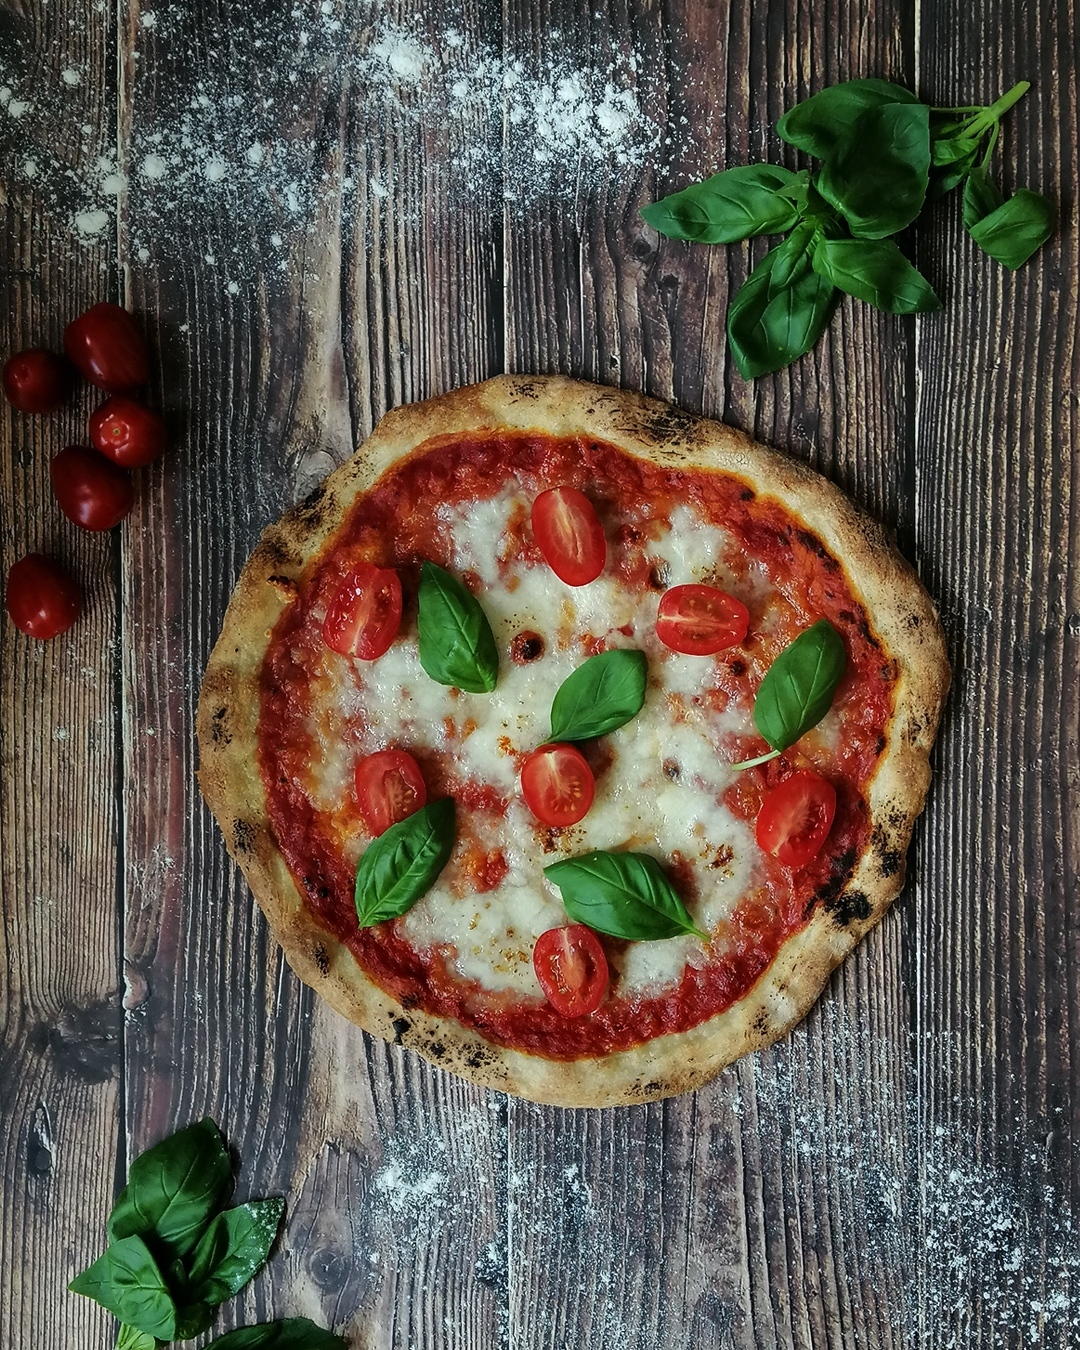
- When ready, take out of the oven, transfer to a large plate or chopping board. Scatter a few basil leaves on top and drizzle with olive oil. And, time to enjoy your homemade sourdough pizza.