
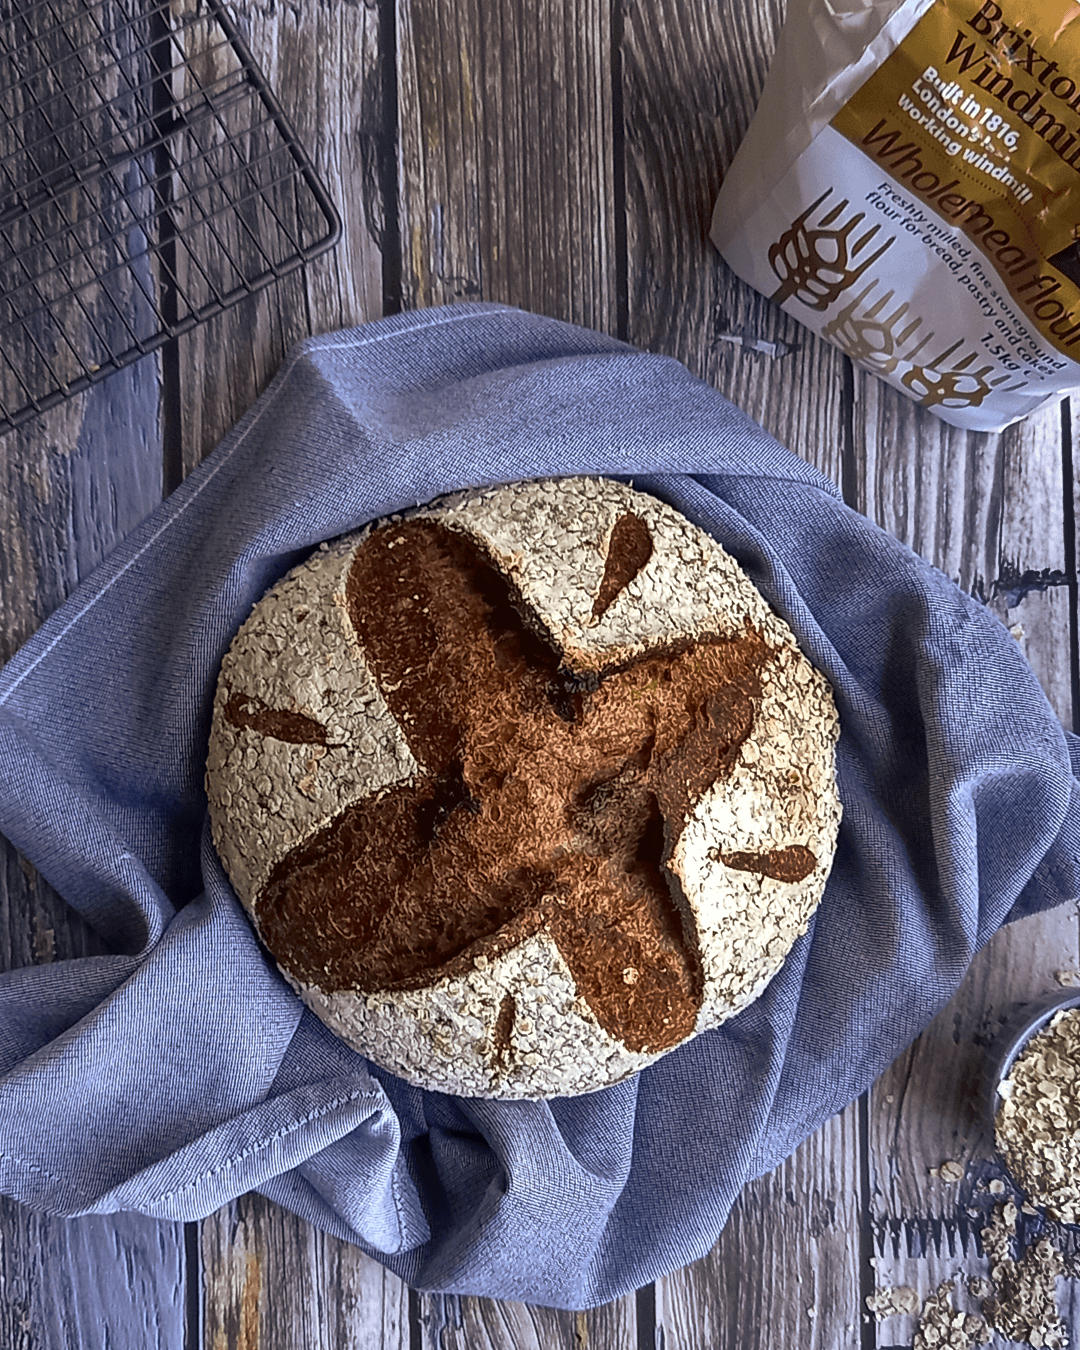
In collaboration with Brixton Windmill and using their organic wholemeal flour
So, it’s finally time to post a sourdough bread recipe. When the pandemic hit, I started growing my starter. At last, more than a year and a half dow the line, I finally feel I am getting results my hyper-critical self considers good enough to share with other human beings.
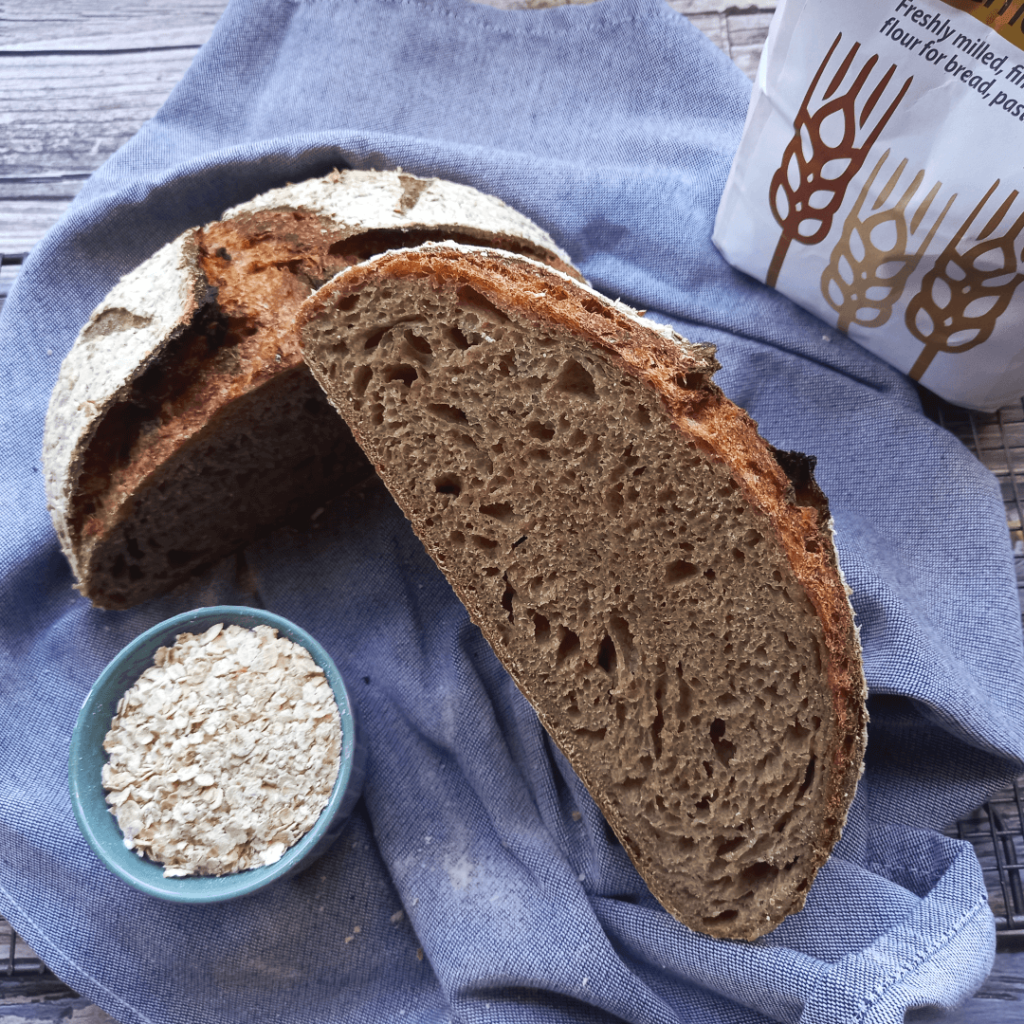
Although sourdough bread is not strictly an Italian thing, for me it was love at first bite. There is that something in the rich, tart creaminess of a good slice of sourdough that I find so satisfactory. It hits all the right flavour notes in my mouth.
Self-teaching myself how to make good sourdough has been a massive learning curve, but nonetheless it has improved my overall understanding of the whole bread making process. It all starts with the best quality flour one can possibly find. When it comes to wholewheat bread, well, that is another level and it took me months to kind-of-master it. Home sweet home, wholewheat sweet wholewheat bread, here I come. So many memories.
This wholewheat sourdough cob recipe is made by using a 50/50 ratio of wholewheat flour and strong white flour. This strikes a good balance and allow the gluten to develop properly and retain all the fibres, bran and nutrients that the wholewheat flour carries.
This is an extremely versatile loaf. You can eat a slice alongside your favourite soup, or butter-on-toast and lay some smashed avocado and smoked salmon on it. Or, as I always recommend, lightly toast it, brush it with garlic and top it with chopped tomatoes, basil, a pinch of salt and a drizzle of olive oil for the best bruschetta ever.
And that is it. Buon appetito.
Makes 1 cob (about 750g)
Ingredients
- 225g wholewheat flour – I used Brixton Windmill
- 225g strong white flour – I used Canadian great white by Matthews Cotswold flour
- 95g sourdough starter, at peak of activity
- 315g water
- 11.5g fine sea salt
- 1 tsp malt syrup (optional)
SPECIAL EQUIPMENT
- plastic dough scraper
- round proofing basket (banneton) or clean bowl for final proofing
- Cast iron casserole or Dutch oven
- straight razor blade, bread lame or very sharp knife
- spray bottle filled with water (if not using the casserole)
Method
- Sift both flours into a large bowl. Put the bran left in the sieve back into the bowl. Add 300ml of water and stir until you get a shaggy mass and no more dry bits are left. Cover and leave for 1 hr to autolyse in a warm spot (28˚C).
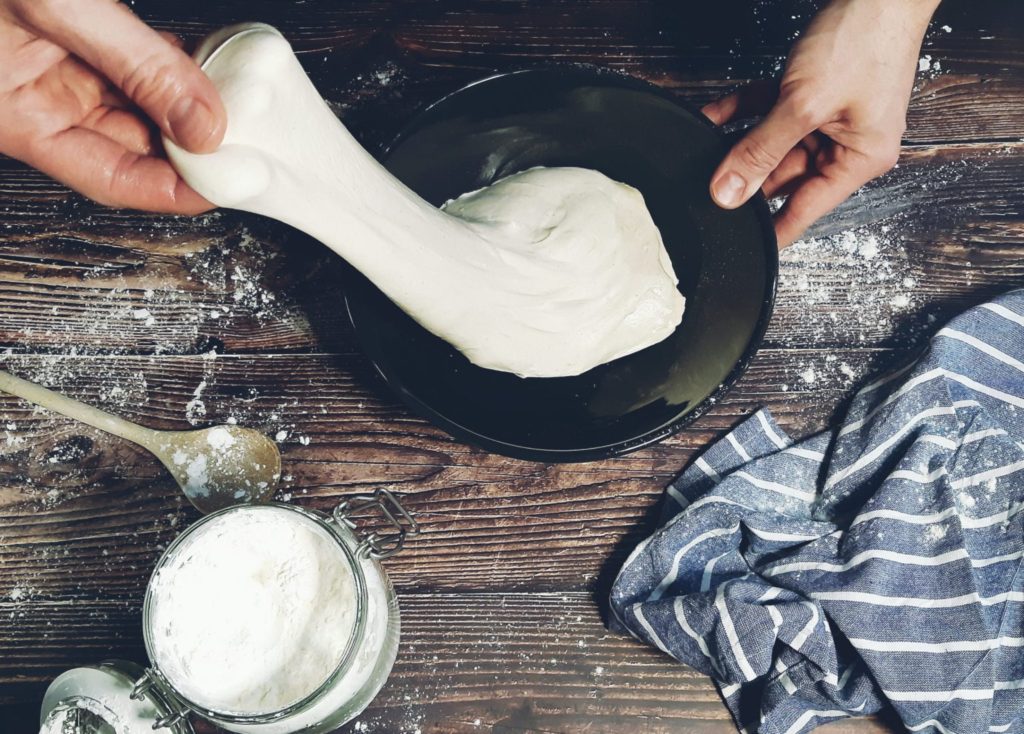
- Sprinkle and dimple the last 15g of water over the dough, add the starter and keep dimpling and turning the dough to incorporate evenly. Add the salt and knead in a stand mixer on low for about 5 mins, then raising to medium for another 5 mins. If kneading by hand, use the slap and fold method. Once the dough is smooth and less tacky, transfer to a clean bowl, cover and leave to rise for 30 mins in a warm place (28˚C).
- Uncover the bowl and perform a set of stretch and fold. Lightly wet your hand, pick up a side of the dough, stretch it upwards and fold it over and across the middle. Repeat going around the bowl until all the sides are stretched and folded. Cover and leave to rise for 30 mins.
- Repeat step 3 for three more times, at 30 mins intervals, for a total of four stretch and folds. After you have performed the last stretch and fold, cover the dough and leave to rise for 2 hrs.
- Pre shape your loaf. Using a dough scraper, gently turn your dough onto the work surface. Using the scraper in circular movements, shape your dough into a rough ball, increasing the tension of the ball surface. Do not add flour. Leave to rest uncovered and free standing for 15 minutes.
- Flour your proofing basket and sprinkle with oats. Using the scraper, flip the dough upside down. Stretch all the sides and tuck them in the middle, pinching to seal. Repeat to achieve maximum surface tension. Pick up the dough and quickly transfer it into the floured basket, seam side up. Flour the top of the dough, cover with a plastic bag and set in the fridge overnight (anywhere between 8 to 14 hours).
- Preheat the oven to 240˚C fan.
– If you are using a cast iron pan, leave it in the oven to warm up for 1 hr. Once heated up, take the proofing basket out of the fridge. Tear a sheet of baking parchment, place it over the basket and quickly turn your loaf around, placing it on the work surface. Remove the basket and brush the top of the loaf any excess flour. Take your sharp blade and score a cross in the middle of the loaf, with two swift strokes.
– If you are not using a cast iron pan, place in the oven a baking tray and an ovenproof high-sided metal tray, placed at the bottom, and let them heat for about 1 hr. Once heated up, take the proofing basket out of the fridge. Tear a sheet of baking parchment, place it over the basket and quickly turn your loaf around, placing it on the work surface. Remove the basket and brush the top of the loaf of any excess flour. At this point, boil the kettle. Take your sharp blade and score a cross in the middle of the loaf, with two swift strokes. Place the loaf on the heated baking tray and pour boiling water in the bottom heated tray, to generate steam. Close the oven door for 30 seconds. Open the door again and liberally spray the sides of the oven with water. Close the oven door again.
- Bake for 40 to 45 mins, until the crust is golden brown and the loaf is baked through. If using a cast iron pan, bake with the lid on for the first 30 mins. If browning too much, cover with some foil. Once baked, leave to cool on a rack for 1 hr before cutting and eating. Enjoy!