

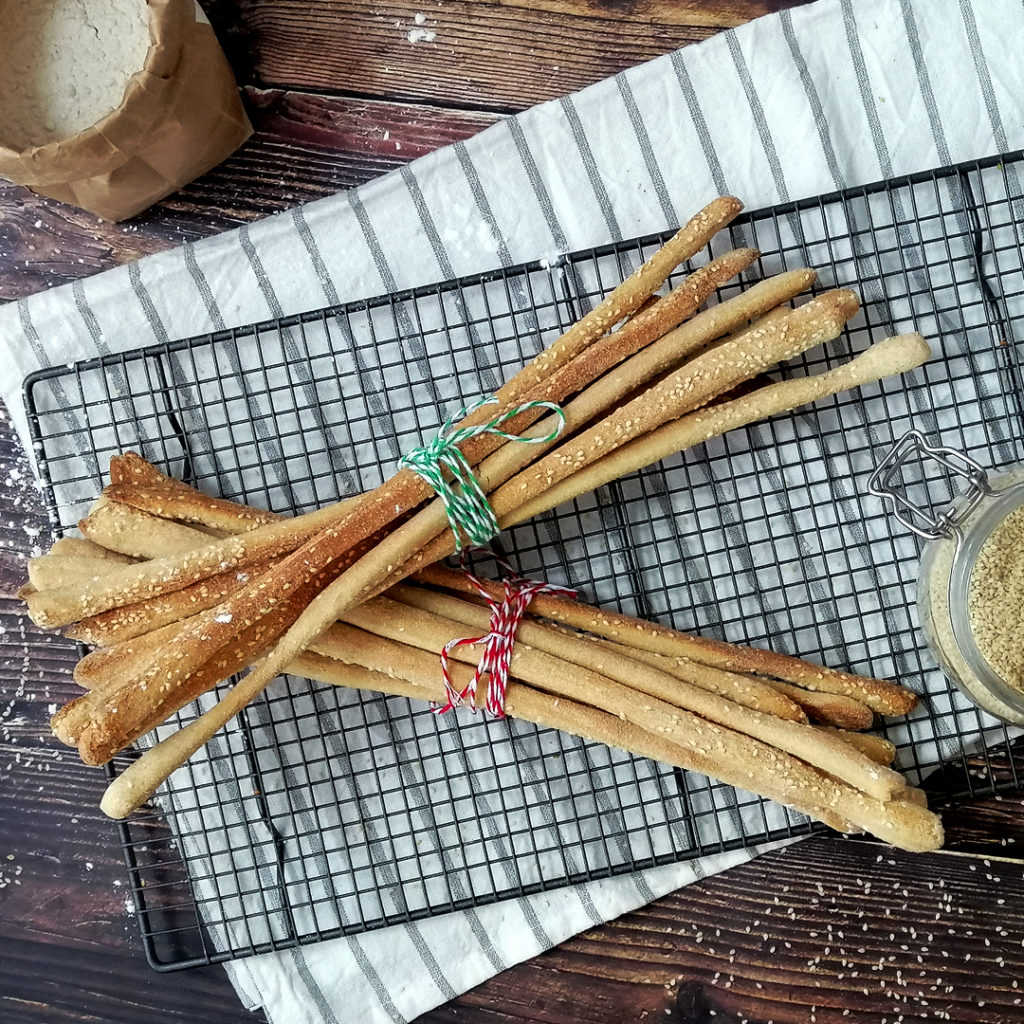
Grissini, or breadsticks, were first invented in the 17th century in the northern-Italian region of Piemonte. There are thousands of types, variations and flavours, and they are absolutely amazing as a nibble. As a matter of fact, it’s very common to find them in many pizzerias, ready at the table for you to have a snack while you wait to be served your pizza. Starch on starch, as they say. Or they are usually served as part of different starters, alongside some nice affettati (charcuterie) or burrata, or cheese. The thing is, they are just so versatile.
It goes without saying, I love grissini. I am so so so happy to see that they have started popping up on supermarket shelves more and more. But, do I ever buy ready made food? Well, yes, I do, sometimes. Ha. But if I can bake it/make it at home, I will always go with the homemade version. And they’re very easy to make at home, just perfect for your next party, or you next charcuterie night (never heard of that, huh?).
I started exploring how to make my own hand-pulled grissini a while ago. The recipe and proportions for traditional grissini are pretty standard, but I find that this recipe gives them an even-more-wonderful airy crunch. Last but not least, the name says it all, and these breadstick are shaped by pulling rather than rolling, which not only gives them their unmistakable light and crunchy texture, but it’s also so much fun to make and bake.
Grissini, here I come (going to the shop now, need to buy some Parma ham – till the day that I learn to make that too, ha. Ok, no).
Makes approx 24 x 35cm breadsticks
Ingredients
FOR THE DOUGH
- 300g plain flour
- 175g water at 38°C
- 3.5g dry yeast
- 3.5g malt or malt syrup (½ tsp, optional)
- 2g sugar (½ tsp)
- 6g sea salt
FOR BRUSHING AND COATING
- olive oil for brushing
- 3 tbsp semolina flour (or polenta)
- 3 tbsp sesame seed
- 1 tsp fine sea salt for coating
Method
- Sift the flour and place it in a bowl with the salt and malt syrup (if using). In another bowl, mix the yeast, water, and sugar, and leave to activate, covered, for 10 minutes or until frothy. Add it to the flour mixture (if using dry instant yeast, just mix all the ingredients together).
- If kneading by hand, slowly start kneading the mix until you bring all the ingredients together. When no more dry bits are visible, turn it out on a worktop and continue kneading for about 10 minutes, or until smooth. If using a stand mixer, knead for 5 minutes on low, then for another 5 minutes on medium. The dough should be soft and smooth.
Give the dough a rectangular shape. Lightly flour a baking tray and put the dough on it. Cover with cling film and a tea towel, and let proof in a warm place (25 to 28°C) for about 30 minutes. - After 30 minutes, transfer the dough to a worktop. Flatten the dough on the counter and form a long roll of about 6 to 7cm diameter. Take a long strip of cling film (twice as long as the roll) and brush half of it with olive oil. Place the roll of dough on the oiled film and brush the top and sides with oil too. Fold the rest of the cling film over the dough, and loosely make it adhere to the top and sides (the oil will make the film stick). This prevents skin from forming during the final proof. Cover with a tea towel and let it proof again in a warm place for 60 minutes.
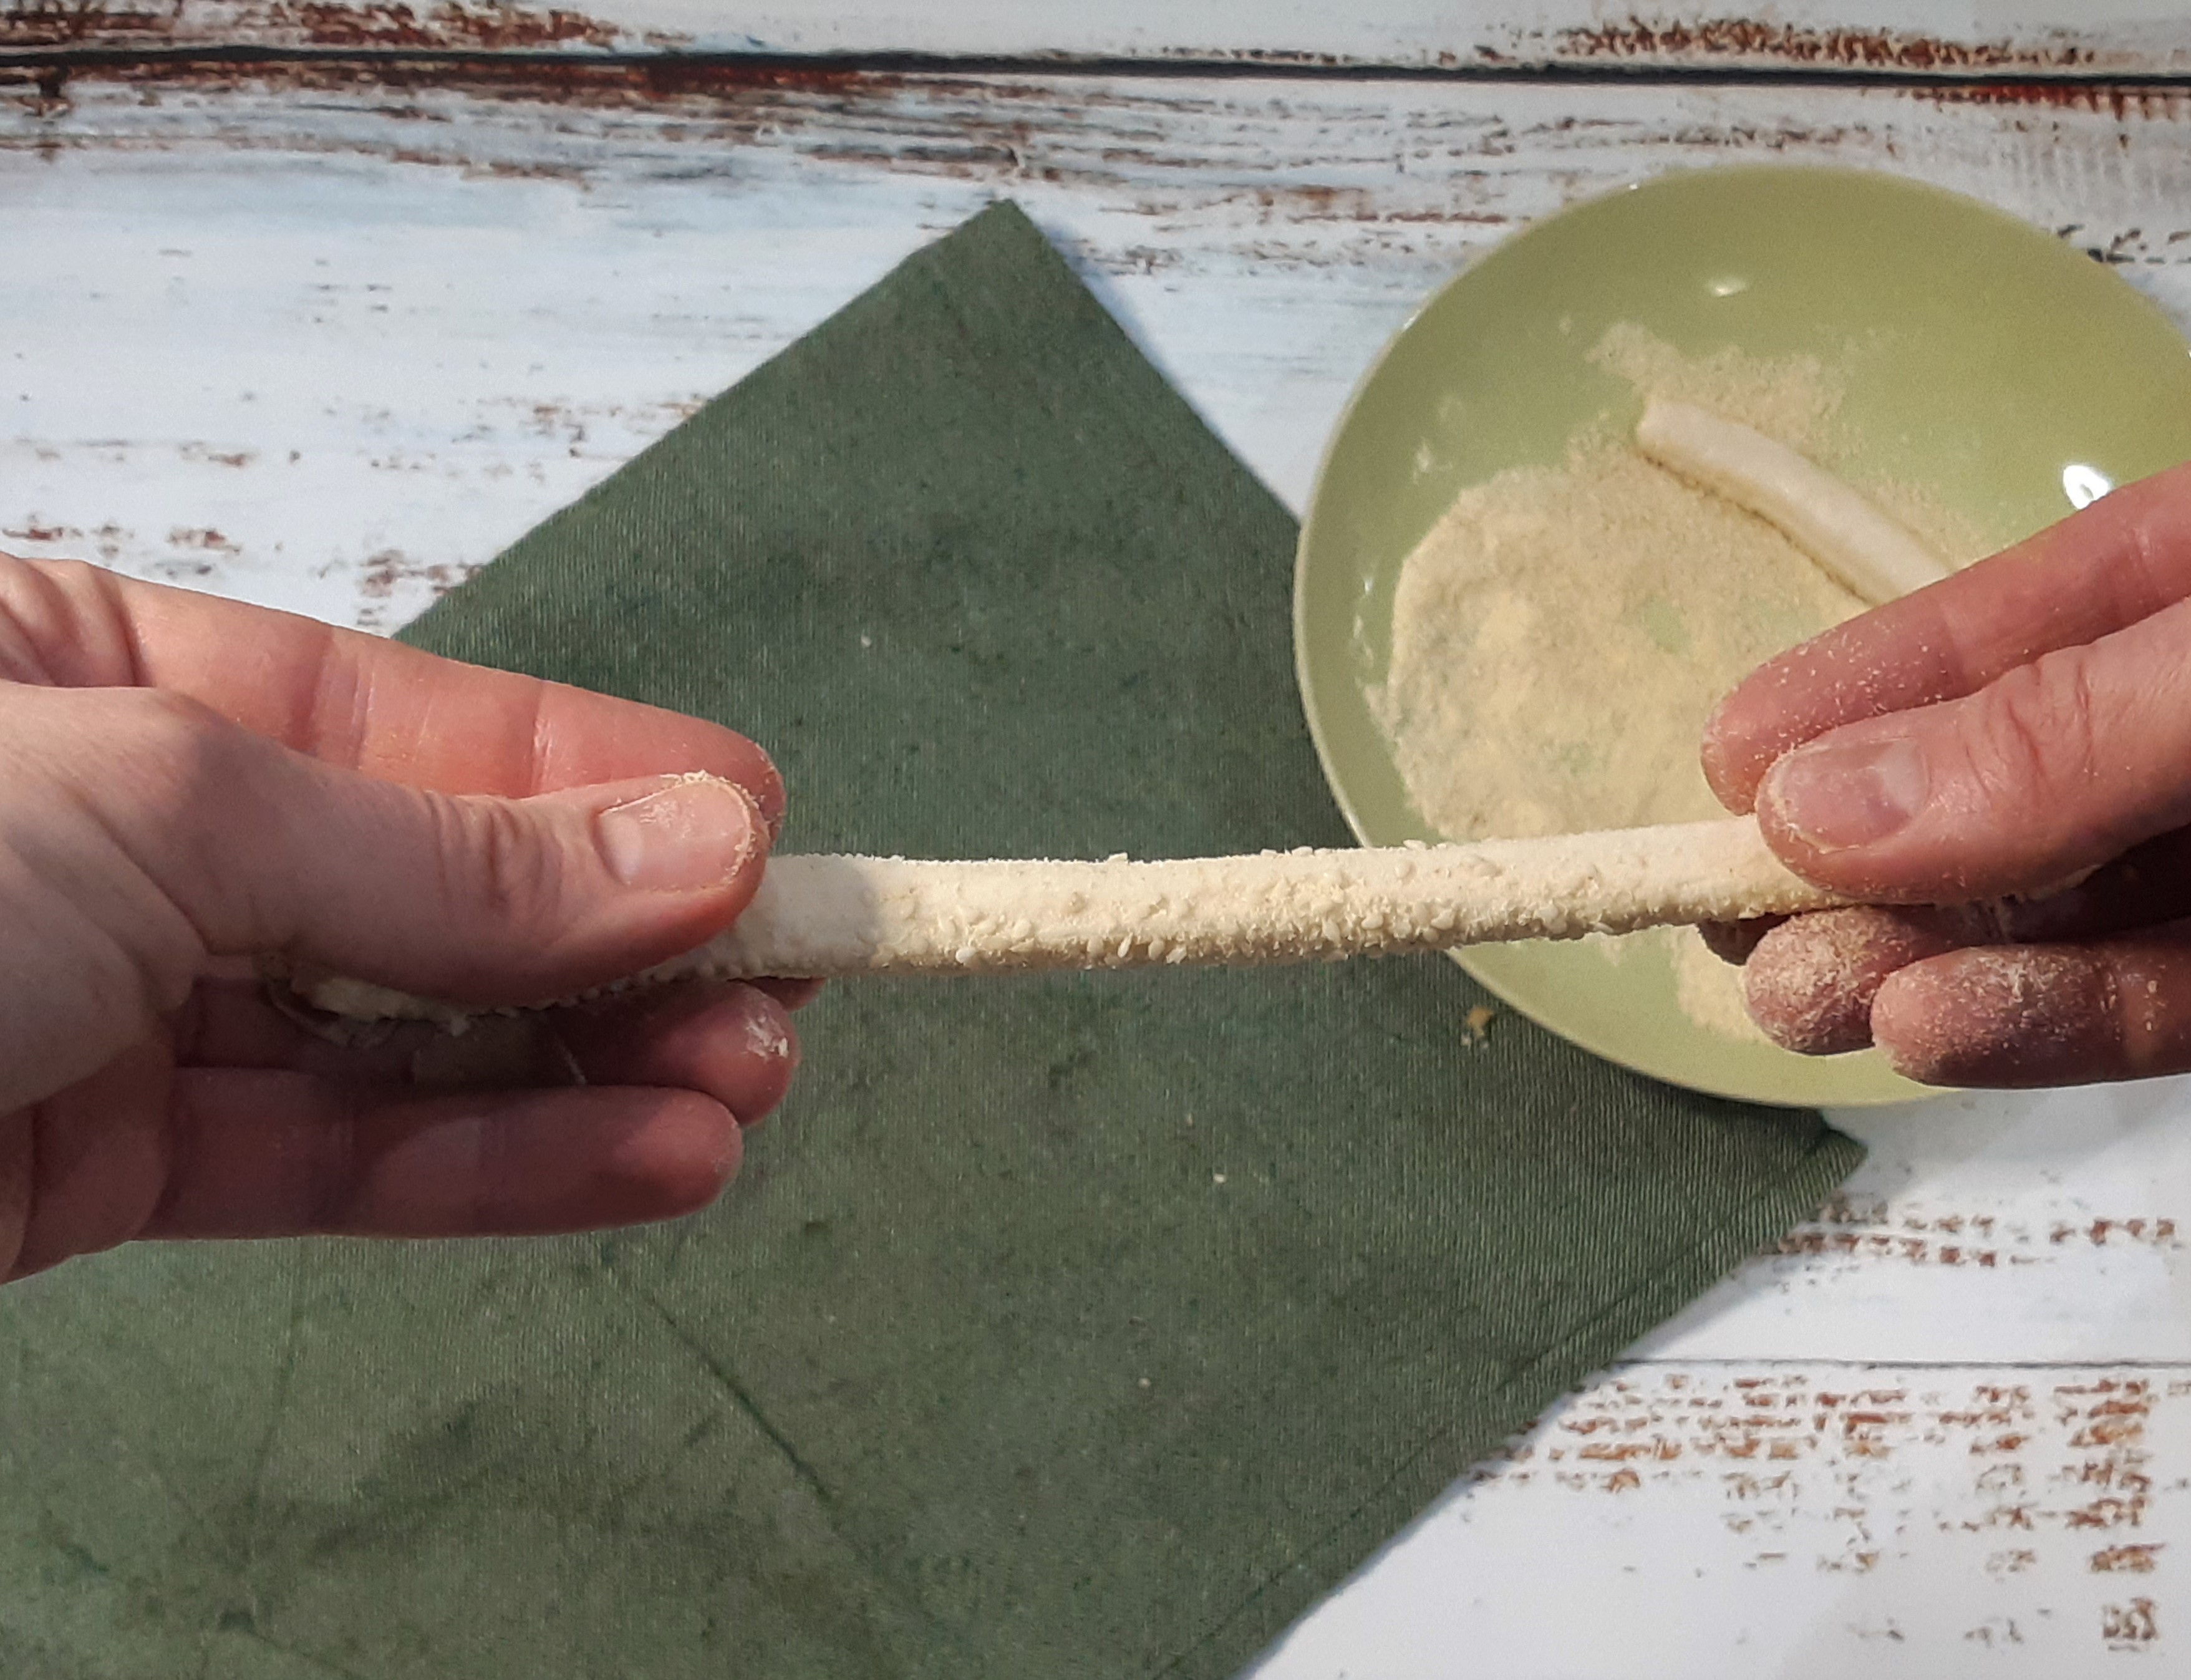
- While the dough is proofing, heat the oven to 230°C. Prepare a plate or tray with a mixture of semolina flour and sesame seeds, and line a large oven tray with baking parchment. When the dough has risen, return it to the worktop and unwrap the cling film. Take a dough cutter or a knife and cut a few 2cm thick strips of dough from the short side of the roll, then place each of them in the semolina and sesame mixture and coat evenly. You must try to cut each strip with one single cut (this is very important for the stretching of the grissini).
- Once you’ve cut and coated all the strips, lift each one of them by holding the ends with your thumb, index and middle fingers (see picture). Now, let’s have some fun. Pull outwards to elongate each strip, whilst moving your fingers towards the ends of the strip at the same time. The dough should stretch very easily up to a point and then will make some resistance. Don’t worry, that is absolutely fine. Stop stretching at the desired length to fit your baking tray. Lay every strip on the tray that you had previously lined with backing parchment, at about 2cm apart from each other.
- When you have no more space, bake for 12 to 15 minutes or until golden, making sure you keep the oven door ajar to let any steam out (use a wooden spoon or a small ball of foil to keep it slightly open). Once the breadsticks have turned golden, flip them over and bake for a further 3 to 5 minutes to colour and crisp up even more. Let them cool on a wire rack. Enjoy with some nice Parma ham or mortadella. Absolut perfection.